26 May How To Install An Exterior Door: A Step-by-Step Guide For Homeowners
If you’re wondering how to install an exterior door the right way, you’re in the right place. Replacing an old, drafty door can make your home feel warmer, look better, and save energy. Whether you’re updating a worn-out front door or putting in a new entryway, this guide will help you every step of the way. The team at CK Sidaho has helped many homeowners get clean, secure, and stylish installations without confusion. Let’s walk through it together—step by step—so you can do it yourself or know what to expect from your contractor.
Why Exterior Doors Matter More Than You Think
Exterior doors do a lot more than just open and close. They protect your home from wind, rain, and snow. They keep out noise and help save on heating and cooling costs. A strong door can also make your house safer and even raise its v
alue. When people visit your home, your front door is one of the first things they see. That’s why it should not only work well it should also look good. Choosing the right door and installing it properly makes a big difference in how your home feels and functions.
Getting Started: When Is It Time to Replace an Exterior Door?
You might not always know when to replace your door, but here are some signs to look for:
- The door sticks or doesn’t close properly
- You feel cold air coming in around the edges
- There are cracks or water damage in the frame
- You see light shining through when the door is closed
- The lock doesn’t feel secure anymore
If you’ve noticed any of these problems, it might be time to replace your exterior door. Installing a new one can solve those issues and improve your home’s comfort and safety.
Understanding the Basics: What Is Involved in Exterior Door Installation?
Exterior door installation may sound tough, but it’s just a few key steps done carefully. First, you remove the old door and its frame. Then, you put the new one in place and make sure it fits right. That means it should be level, square, and sealed. If the door doesn’t sit properly, you could have trouble closing it or end up with air leaks.
If you choose a prehung exterior door, it already comes with the frame. This makes things easier because you don’t have to line up the hinges yourself. It’s one reason why many people prefer installing a prehung exterior door over a slab door.
Tools and Materials You’ll Need for the Job
Before you begin, get your tools ready. Here’s a list of what you’ll need:
- Measuring tape
- Hammer or drill
- Screwdriver
- Utility knife
- Pry bar
- Level
- Caulking gun
- Shims
- Screws
- Insulation foam or backer rod
- Exterior caulk
- Safety glasses
Having everything on hand will make the job faster and easier. Make sure your new door fits the size of the old one—or be ready to adjust the frame opening.
Step-by-Step Guide: How to Install an Exterior Door Properly
Let’s go through how to install an exterior door in simple steps:
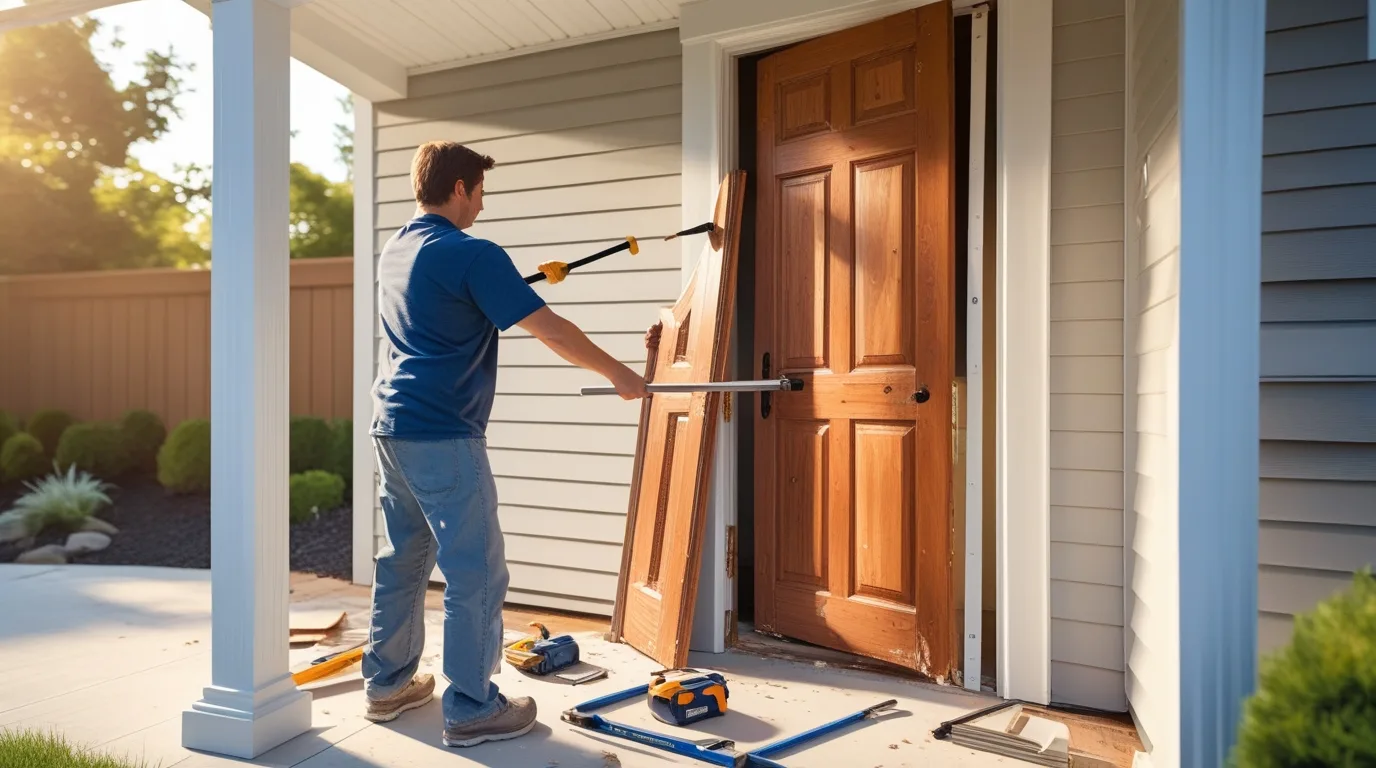
- Remove the old door
Take off the hinges, unscrew the frame, and gently pry it out. - Clean the opening
Remove any leftover nails, caulk, or debris. - Check the fit
Test-fit the new door in the opening. If it’s too tight, trim or adjust as needed. - Apply caulk
Put caulk along the bottom of the door opening to seal it. - Place the new door
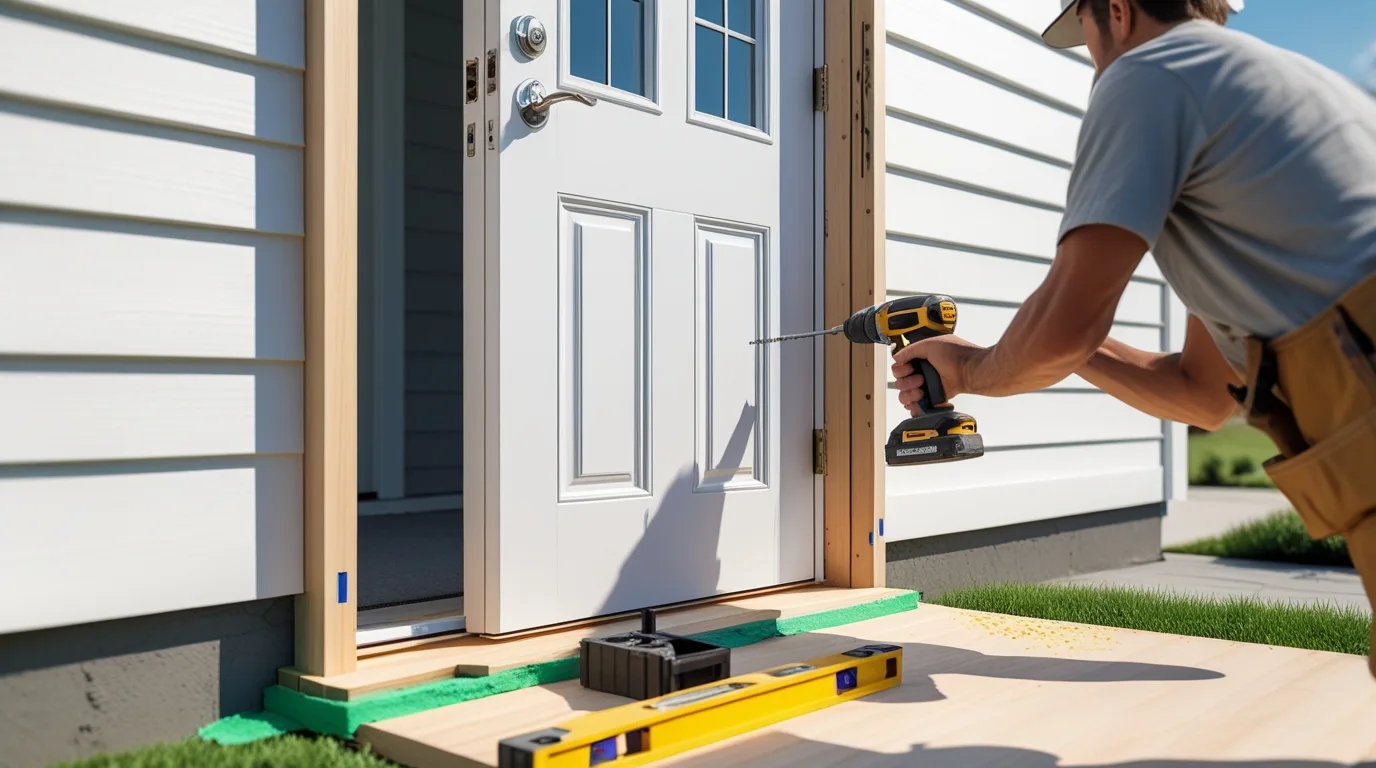
Insert the prehung door and center it. Use shims to make it level and square. - Secure the door
Drill screws through the frame into the wall studs. - Check the swing
Open and close the door to make sure it moves smoothly and seals tightly. - Insulate gaps
Fill gaps around the frame with foam or backer rod, then caulk. - Finish up
Add trim, paint if needed, and install hardware like the doorknob and lock.
Take your time with each step. The better the fit, the more comfortable and energy-efficient your home will be.
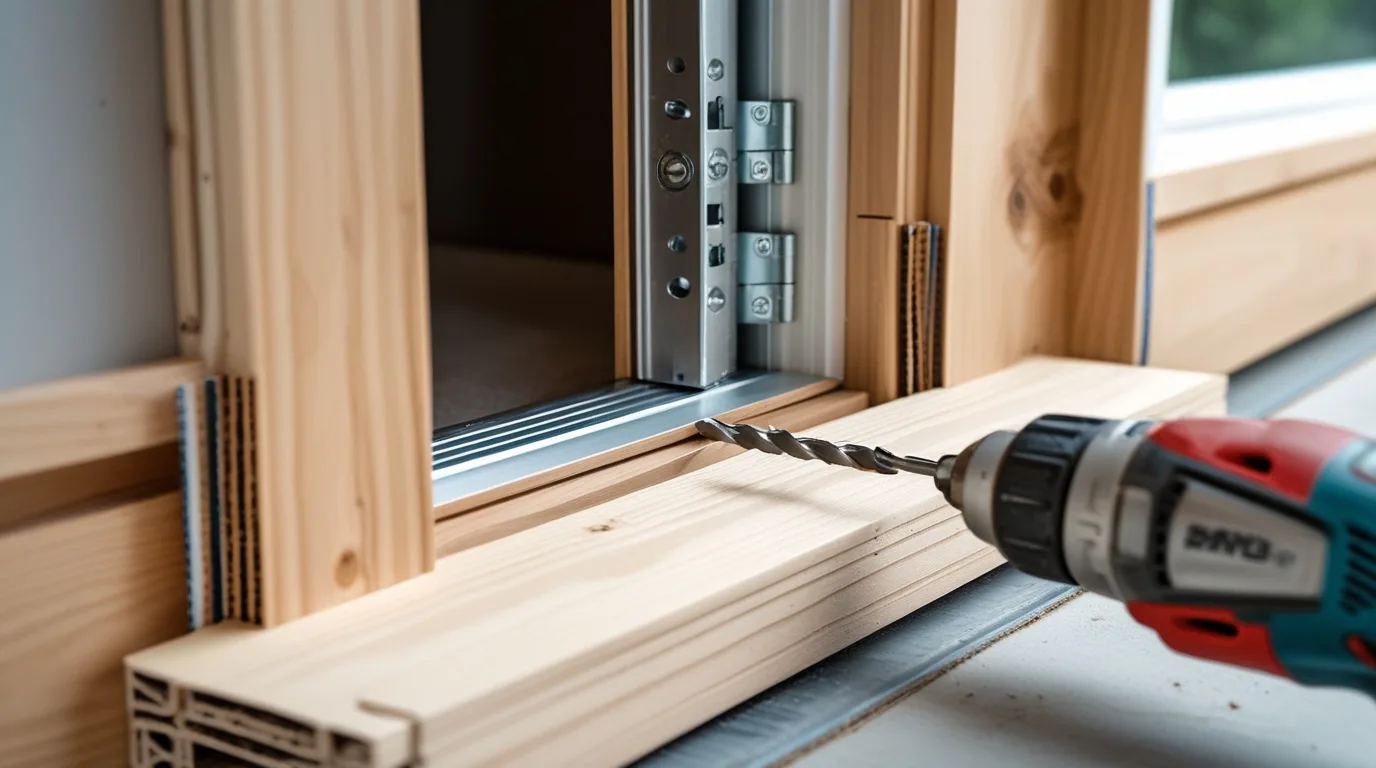
What Is a Prehung Exterior Door and Why Choose One?
A prehung exterior door comes already attached to a new frame. It includes hinges and sometimes even the weather stripping. You don’t have to attach it to your old frame or worry about making parts line up. That’s what makes it easier for most people.
Prehung doors are great when you’re replacing both the door and frame. If your old frame is damaged or not level, installing a prehung exterior door is usually the best option. It takes out the guesswork and helps you get a snug, professional-looking fit.
How to Install a Prehung Exterior Door with Confidence
Installing a prehung door is simpler than you might think. Follow these easy steps:
- Set the door in place to check the size.
- Add caulk on the floor where the door will sit.
- Use shims around the sides and top to keep it even.
- Secure it with screws into the wall studs.
- Open and close the door to make sure it’s not sticking.
- Fill the sides with insulation foam.
- Add trim and your lockset.
This method saves time and prevents problems later. Hanging a prehung exterior door is a smart choice for homeowners doing it themselves or even hiring a pro.
Framing Tips: How to Replace an Exterior Door Frame Safely
Sometimes, the old frame is too damaged to reuse. Here’s how to replace it:
- Remove the old trim and frame.
- Measure the rough opening (width, height, and depth).
- Cut a new frame to size using strong, rot-resistant wood.
- Install the sill at the bottom using caulk and nails or screws.
- Add the side pieces and top header, checking level at every step.
Framing an exterior door right is key to making sure the new door sits flush, swings properly, and keeps out air and water.
Common Mistakes to Avoid When Replacing Exterior Doors
Even small mistakes can cause big issues. Avoid these common errors:
- Not checking level or square – The door may stick or not latch.
- Skipping insulation – Gaps can let in cold air or bugs.
- Using the wrong screws – Short or weak screws can loosen over time.
- Forgetting caulk – Water may seep in and damage the wood.
- Forcing the door – Always adjust, never push or hammer hard.
Taking extra care during installation can prevent problems down the road. CK Sidaho always recommends going slow and double-checking each step.
Best Practices for Exterior Door Installation in Idaho Falls Homes
In places like Idaho Falls, weather plays a big part in how well your exterior door works. Cold winters and warm summers mean you need a door that seals tightly. Look for insulated doors with built-in weather stripping. Also, be sure to use caulk and foam sealant made for cold climates.
Always install exterior doors with water protection in mind. That means flashing tape, proper sill placement, and a tight seal around the edges. These small steps can make a big difference in your comfort and energy bill.
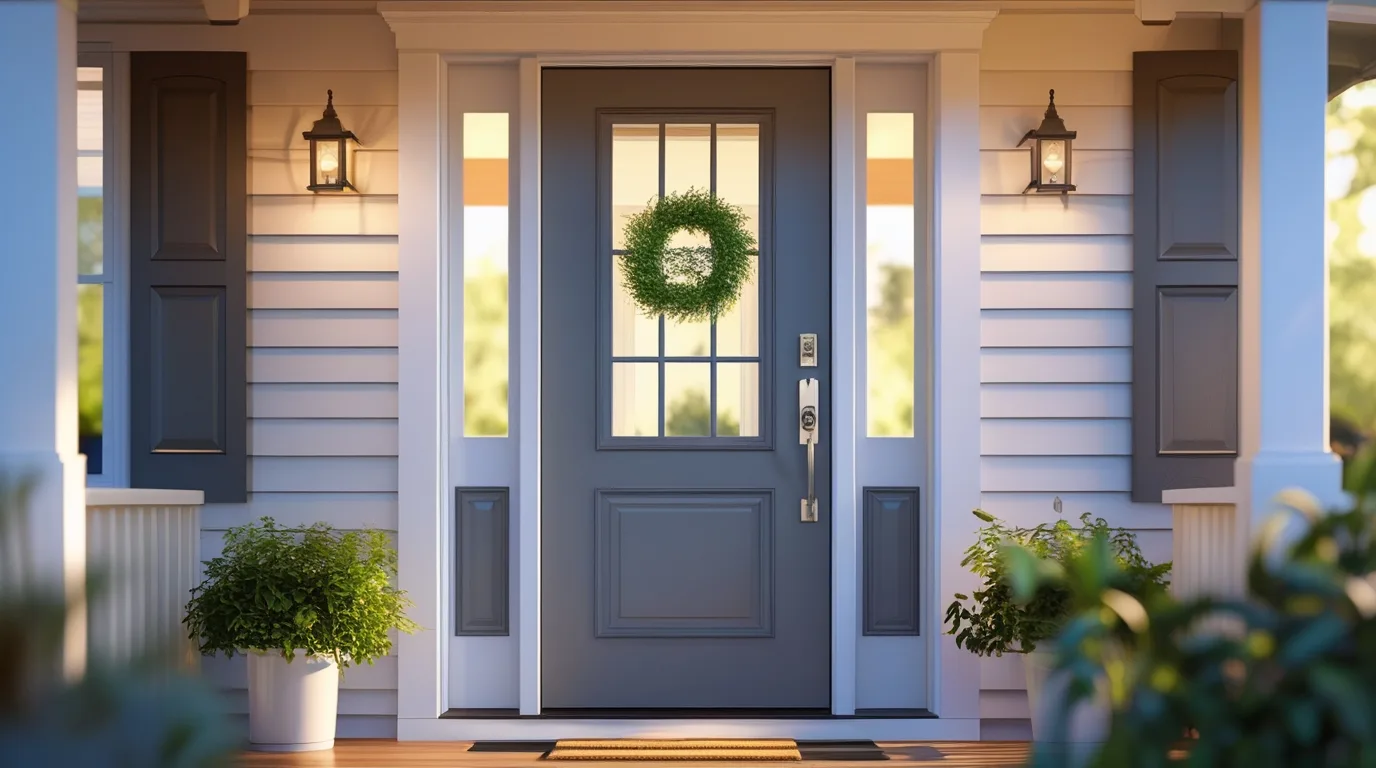
Final Touches: Finishing, Sealing, and Ensuring a Snug Fit
Once the door is installed, don’t forget the details. Apply caulk around the outside trim to keep out water. Paint or stain the door if it’s unfinished. Make sure your deadbolt lines up well and locks securely.
Test the door by closing it gently. If it swings freely, latches well, and keeps out light and air your job is done. If not, go back and adjust your shims or add more insulation.
Installing a door takes patience, but the results are worth it. With a little care, your new door will last for years and keep your home safe and comfortable.
Need help with your exterior door project? CK Sidaho is your trusted team for high-quality door replacements and installation you can count on. Call us today to get started.