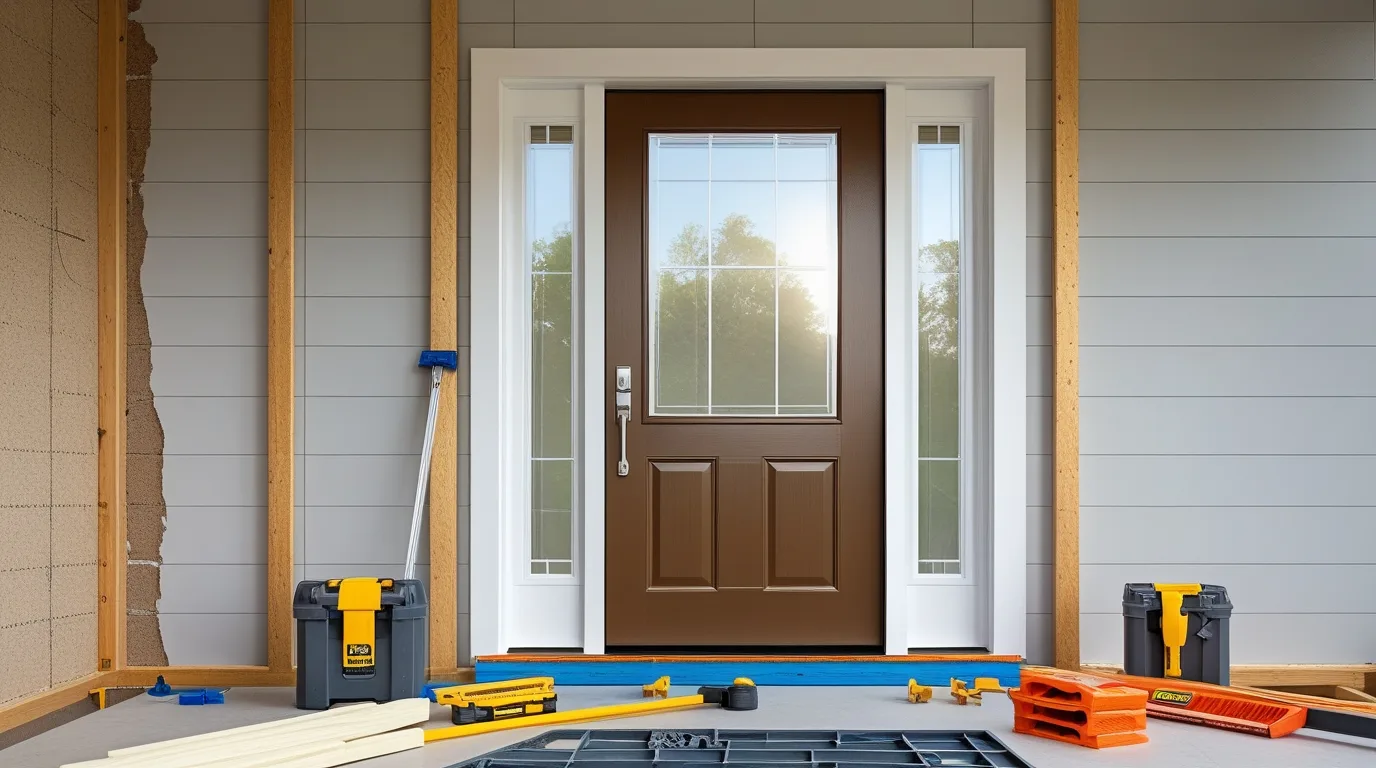
03 Jun How To Install An Exterior Door For New Construction
Installing exterior door new construction is more than just placing a door into a frame. A secure and well-installed door protects your home from weather, noise, and intruders. It also helps control the indoor temperature by keeping heat in during winter and out during summer. A properly installed door stops air and water leaks. That saves energy and prevents damage to your walls and floors. Whether you build a new house or improve an old one, doing it right the first time makes a big difference. At CKSidaho, we always stress the value of good door installation for safety and comfort.
What Makes New Construction Door Installations Different
When installing an exterior door in new construction, you start with an open wall. That gives you more control than replacing a door in a finished wall. In new construction, there are no trim, drywall, or old frames to remove. You can create the ideal rough opening size and shape. This helps ensure the door fits perfectly and seals tightly. There is also more room to use full flashing and insulation methods. Compared to retrofit jobs, new construction installations are faster and cleaner. You get to follow the correct framing and sealing steps right from the start, which is what we always recommend at CKSidaho.
Step-By-Step Overview Of Installing An Exterior Door Frame
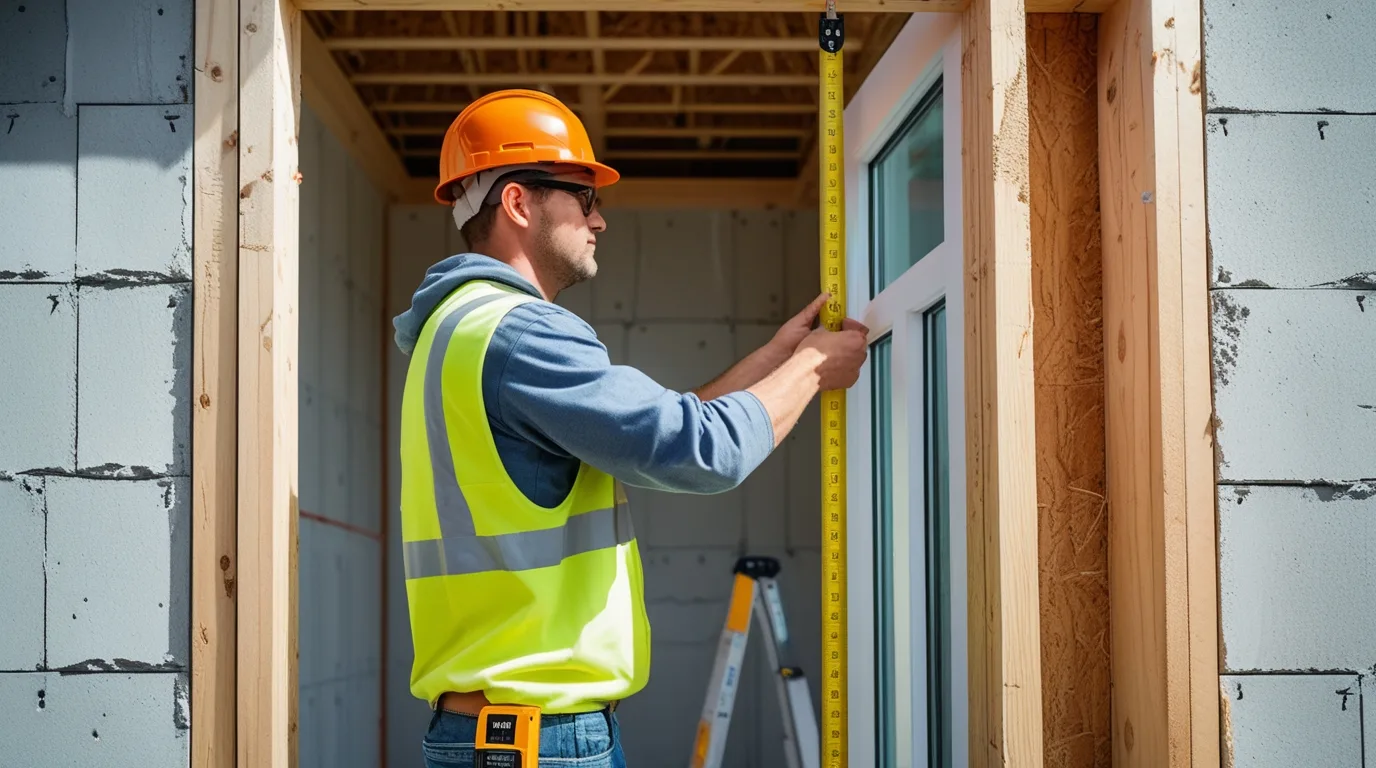
- Measure the Rough Opening
Ensure the opening is about 1/2 inch wider and taller than the door frame for proper fitting. - Install a Sill Pan
Place a sill pan at the base of the opening to direct water away and protect against moisture damage. - Position the Door Frame
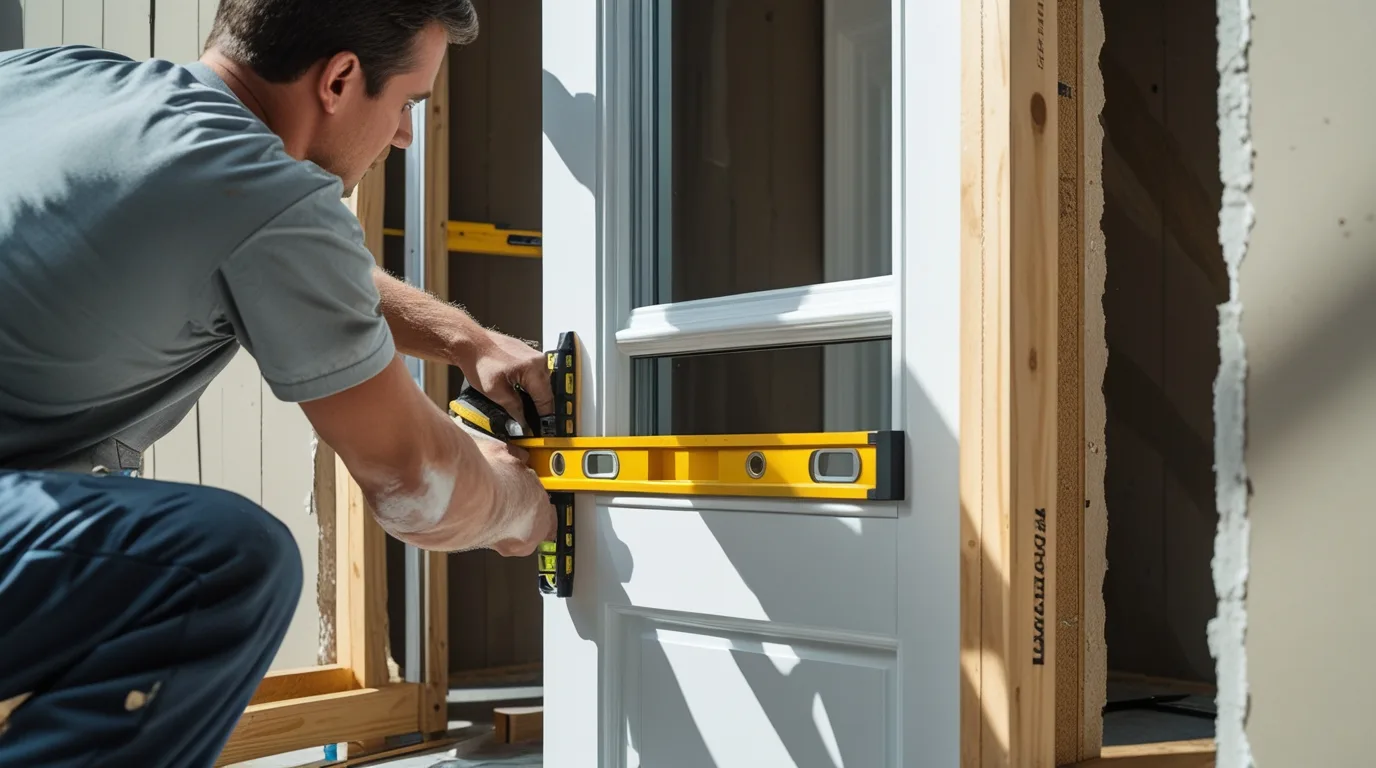
Set the bottom of the door frame on the sill pan and carefully tilt it upright into the opening. - Use Shims for Alignment
Insert shims along the sides to adjust and keep the frame straight and plumb. - Secure the Frame
Nail or screw the door frame securely into the wall framing while checking for level and plumb alignment. - Seal the Gaps
Spray low-expansion foam insulation around the frame edges to seal any air or water gaps. - Final Check
Recheck all sides for straightness and level to ensure the frame is ready for door hanging.
Key Tools And Materials For Exterior Door Installation
You need a few basic tools and supplies to install exterior doors properly. These include:
- A prehung exterior door (already mounted in its frame)
- Hammer or drill with screws
- Pry bar and level
- Shims and a tape measure
- Caulk gun with waterproof sealant
- Low-expansion spray foam
- Utility knife and square. These tools help make sure everything fits and stays in place. Using quality materials is just as important. Don’t skip flashing or sealing because these steps stop leaks and drafts. Good prep leads to better results.
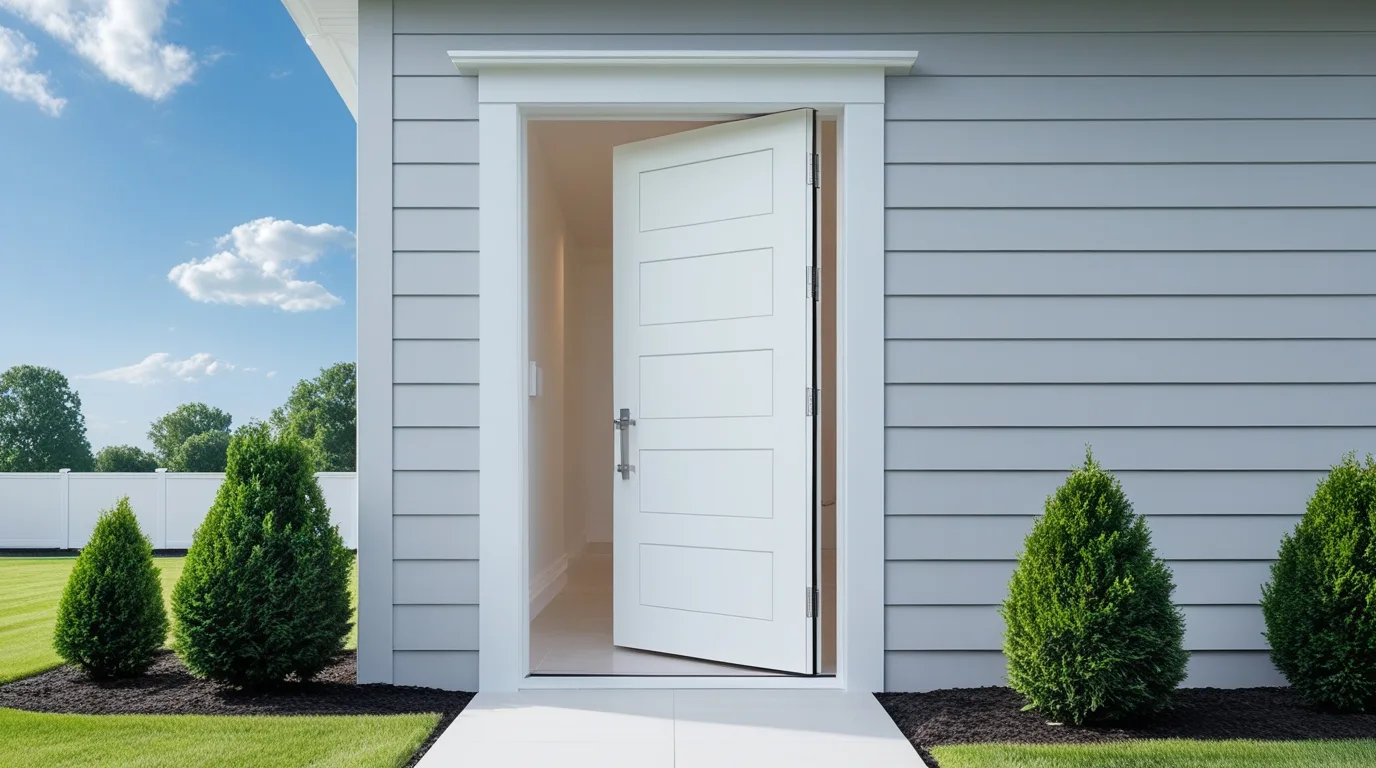
How To Install a Pre-Hung Exterior Door With Precision
A prehung exterior door is easier to install because the door comes mounted in a frame. Start by placing the door into the opening. Use a level to make sure it sits straight. Add shims behind the hinges and latch side. Then drive screws through the frame into the wall. Open and close the door a few times to check that it swings freely. Adjust the shims if needed. Apply caulk around the outside edges. Use spray foam between the frame and the wall to fill any gaps. Finish with trim to cover the rough edges. This creates a strong and clean-looking doorway.
Installing an Exterior Door In An Existing Wall vs New Construction
Installing a door in an existing wall takes more effort. You have to remove the old door, trim, and sometimes the frame. Then you check the wall framing and repair any damage. The rough opening may not be the correct size, so you may need to add or remove framing. In new construction, the wall is open, and you can build the right opening from the start. That makes it easier to level the frame and add insulation. The process is simpler, cleaner, and faster in new homes compared to existing ones.
Understanding Exterior Door Framing Details For Lasting Strength
Framing supports the door and keeps it straight over time. It includes a header at the top, king studs on the sides, and jack studs under the header. The rough opening should be square and level. You also need a sill that slants slightly outwards to let water drain. Flashing tape and sealant protect the framing from moisture. A strong frame helps the door resist wind, sagging, and drafts. If the framing is weak or not square, the door won’t open or close properly. Taking time to frame it properly keeps your home safe and your door working well.
Common Mistakes To Avoid When Installing New Exterior Doors
One mistake is skipping flashing or waterproof tape. Water can leak around the door and damage your floor and walls. Another error is not leveling the sill before setting the door. A crooked base makes the door tilt and stick. People also forget to check for squareness, leading to uneven gaps. Using too much foam can bend the frame. Not sealing or caulking properly causes air leaks. Rushing the process often leads to problems. It’s better to go step by step. Hiring trained pros, like those at CKSidaho, helps you avoid these issues.
Replacing An Exterior Door And Frame: What To Expect
Replacing an exterior door and frame involves removing the old setup. First, take off the trim and unscrew the hinges. Cut away any sealant or nails holding the frame. Then slide the frame out. Check the wall for rot or damage. Make repairs if needed. Measure the rough opening to fit the new prehung door. Follow the same steps as new installation: level the sill, place the door, shim it, screw it in, and seal around the frame. Add new trim to finish. This process upgrades your home’s look and security.
Exterior Door Installation In Idaho Falls: Local Codes & Climate Tips
In Idaho Falls, weather changes fast. So when installing an exterior door in new construction, choose energy-efficient doors rated for cold and heat. Local codes may require doors to meet insulation (R-value) standards. Building inspectors also look at how well doors are sealed against wind and water. Check that your door meets those rules. You might need a fire-rated door for a garage entry. Always read the local building code or ask a licensed installer. That way, your door passes inspection and performs well in all seasons.
Final Tips on How To Install Exterior Doors The Right Way
Double-check all your measurements. Use a level every time you place or adjust something. Always seal around the door with caulk and foam to stop leaks. Flashing is a must, especially at the bottom sill. Use screws made for exterior use so they don’t rust. Don’t slam the door shut before it’s fully secured. Test the swing several times. Get a second person to help if needed. Taking time with each step leads to fewer problems later. If it seems too tricky, hire experts to make sure the job is done safely and correctly.
Need help with your next exterior door project? CKSidaho is here to make the process easy and stress-free. Let our experts handle the hard part so you can enjoy a secure and beautiful new entry.